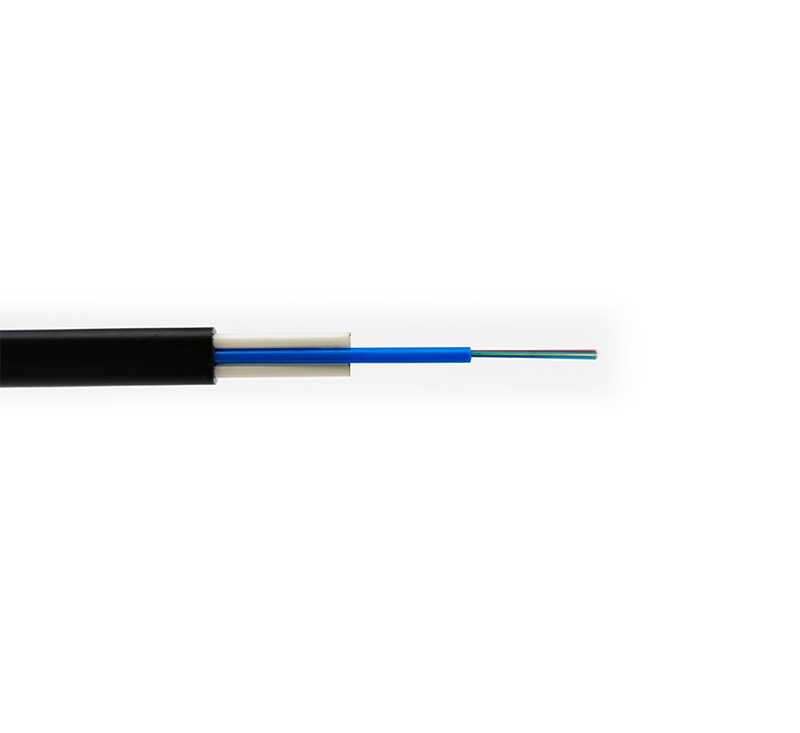
1. Strip the optical cable and fix the optical cable into the splice box. Be careful not to injure the bundle tube, take about 1m for the stripping length, wipe the ointment clean with toilet paper, and put the optical cable into the splice box. When fixing the steel wire, it must be pressed tightly without loosening. Otherwise, it may cause the fiber optic cable to roll and break the fiber core.
2. Split the fiber through the heat shrinkable tube. Separate the fibers of different bundles and colors and pass them through the heat-shrinkable tube. The stripped fiber is very fragile, use heat shrink tubing to protect the fiber splice.
3. Turn on the power of the fusion splicer, use the preset program for fusion splicing, and remove the dust in the fusion splicer in time and after use, especially the fixture, dust and fiber fragments in the mirrors and V-shaped grooves. The optical fibers used in CATV include conventional single-mode fiber and dispersion-shifted single-mode fiber, and the operating wavelengths are also 1310nm and 1550nm. Therefore, before splicing, an appropriate splicing procedure should be selected according to the optical fiber and working wavelength used by the system. Unless there are special circumstances, the automatic welding procedure is generally used.
4. Fabricate the fiber end face. The quality of the fiber end face will directly affect the quality of the connection, so it is necessary to make a qualified end face before fusion splicing. Use a special wire stripper to peel off the coating layer, then wipe the bare fiber with alcohol-dipped cleaning cotton several times with moderate force, and then use a precision fiber cutter to cut the fiber. For 0.25mm (outer coating) fiber, The cutting length is 8mm-16mm. For 0.9mm (outer coating) fiber, the cutting length can only be 16mm.
5. Place the optical fiber. Put the optical fiber in the V-shaped groove of the fusion splicer, carefully press the optical fiber pressure plate and the optical fiber clamp, set the position of the optical fiber in the pressure plate according to the fiber cutting length, close the windshield, and the fusion can be automatically completed in 11 seconds.
6. Remove the optical fiber and heat the heat shrinkable tube with a heating furnace. Open the draft shield, take the fiber out of the fusion splicer, place the heat shrink tube in the center of the bare fiber, and place it in a heating furnace for heating. The heater can use 20mm micro heat shrink tube and 40mm and 60mm general heat shrink tube, 20mm heat shrink tube takes 40 seconds, 60mm heat shrink tube takes 85 seconds.
7. Fiber fixation. Coil the spliced optical fiber onto the optical fiber receiving tray. When coiling the fiber, the larger the radius of the coil and the larger the radian, the smaller the loss of the entire line. Therefore, a certain radius must be maintained to avoid unnecessary losses when the laser is transmitted in the core. 8 Seal and hang. The field connection box must be sealed to prevent water from entering. After the fusion splicing box enters the water, due to the long-term immersion of the optical fiber and the optical fiber splicing point in the water, the attenuation of some optical fibers may increase first. Put on stainless steel hooks and hang on the hanging wire. At this point, the optical fiber fusion is completed.