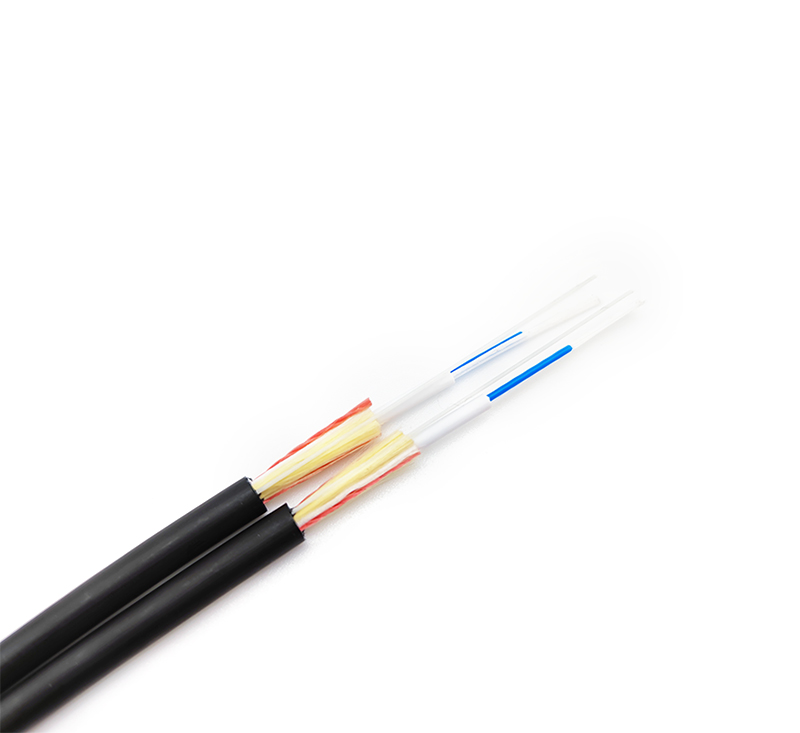
The optical cable is broken, do I need someone to splicing? Is optical fiber splicing simple? What are the specific steps?
1. Preparation: The optical fiber fusion work not only requires professional fusion splicing tools (optical fiber fusion splicer), but also requires many common tools to assist in this task, such as scissors, vertical knives, etc.

2. Installation work: Generally, we use the optical fiber storage box to fix the optical fiber, and put the optical fiber wrapped in the black protective sheath from the rear of the storage box into the optical fiber storage box. The optical fiber is wrapped around and fixed in the optical fiber storage box to prevent it from loosening during daily use.
3. Peeling work: First, peel the outer surface of the black optical fiber, and remove about 1 meter long. Then use a utility knife to remove the protective layer inside the fiber. Special attention should be paid to the fact that the optical fiber core is made of glass fiber, which is easy to be broken. Once broken, data cannot be transmitted normally.
4. Cleaning work: No matter how careful we are in the peeling work, we cannot guarantee that the glass wire is not polluted at all, so we must clean the glass wire before the welding work starts. The more common method is to use a paper towel moistened with alcohol, and then wipe and clean each small fiber.
5. Splicing work: After cleaning, we need to put fiber heat shrinkable sleeves on the two optical fibers that need to be spliced. The fiber heat shrinkable sleeves are mainly used to cover the joints after the glass fibers are connected, and form new ones after heating. The protective layer.
6. Fusion work: place the optical fiber with the outer sheath exposed at both ends in the optical fiber fusion splicer. Then fix the glass wire and press the SET button to start welding. From the display screen of the fiber optic fusion splicer, you can see the connection of the glass wires at both ends. If the correctness is not too crooked, the instrument will automatically adjust the alignment. Of course, we can also manually adjust the position through the buttons X and Y. After waiting for a few seconds, the fiber splicing work is completed.
7. Packaging work: The fused optical fiber glass filament is still exposed outside, which is easy to break. At this time, you can use the fiber optic heat shrinkable sleeve just put on for fixing. Put the fiber covered with the fiber heat shrinkable sleeve into the heater and press the "HEAT" button to start heating. After 10 seconds, it can be taken out. At this point, the fusion splicing of a core is completed. Finally, the spliced optical fibers need to be placed and fixed in the optical fiber storage box.
Suggestion: The fusion splicing process requires an optical fiber fusion splicer. This machine is not cheap, and it is not often spliced. It is not recommended to splicing by yourself. If you have a friend who can splicing, you can also borrow a fiber optic fusion splicer and then splicing. If no one can splicing, and the fiber is not often broken, it is recommended to hire someone to splicing. If the number of welding cores is small, the price is calculated by the day; if there is a certain number of cores, the price is calculated by the number of cores.


